8.31.2013

"Baby Girl" Card


Hellllooo, all!

Today's project is a super simple and quick card and tag combination that focuses on a complex embellishment. I found this particular embellishment at a craft market, but you could also make something like this using some punches and a Sillhouette or you could hand-cut the shapes. This is a great concept to use especially when you're in a hurry to make a card. All I really did extra was some embossing and adhering :)! 


Supplies:

  • Cardstock: Bazzill PINKINI Cardstock, Bazzill COCONUT SWIRL Cardstock
  • Embellishments: Baby Shoes Scallop Circle Embellishment, Faux pearl (large), Brown ribbon
  • Stamps/Ink: Hero Arts ADORABLE BABY GIRL Clear Stamp Set, Tsukineko VERSAMARK Ink, Inkadinkado WHITE LINEN Embossing Powder
  • Punches: Fiskars SCALLOPED SENTIMENT Border Punch, 1/4" Hole Punch
  • Other: Cuttlebug A2 BABY'S BREATH Embossing Folders


Have a great day!
-Daisy Parker

8.24.2013

Crate Paper Maggie Holmes Projects

Hello, peeps!

Ok, I'm going to tell you right now that this post is going to be a longer one than usual, so you might as well get comfortable! Today's post will be featuring 4 projects, that I've created over the week, from the Crate Paper Maggie Holmes Collection (3 Scrapbook layouts and 1 card).

But, since I don't want to bore you to death, I'll start without further ado.

"Backyard Love"


"Beach Fun"


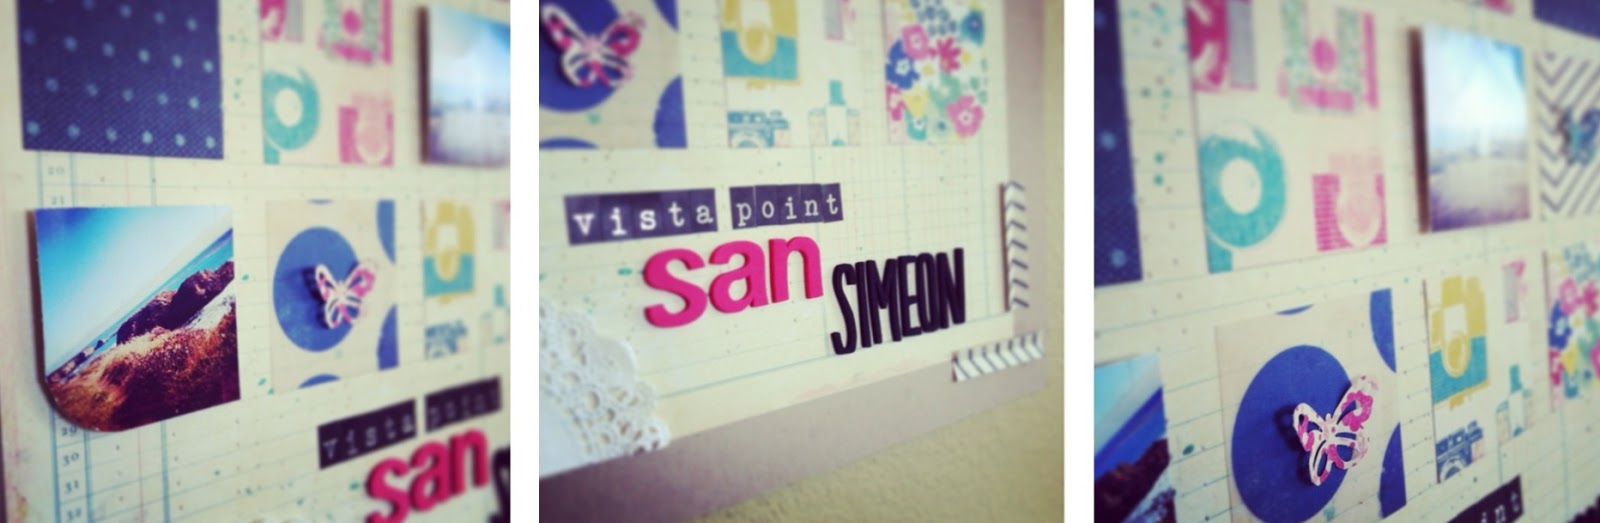
"Vista Point San Simeon"


Butterfly (non-sentimental) Card


Supplies (used in all the projects):


Hope you enjoyed today's post, and see you later!
-Daisy Parker


8.18.2013

"BROWN Eyes" Scrapbook Page

Hey guys!

As you can tell from the title, today's post is yet another scrapbook page that I made quite a while ago, actually, and I thought that you could use some ideas from it. I don't want to call it a clean and simple style or a shabby chic style, so let me put it this way: shabby but simple.

So, here you go!


If you look closely, you can see the paint splatter in the background which I created by mixing gray acrylic paint and water to form a thin consistency (like a mist) which would be easy to splatter and not 'glob' up (I didn't have any gray colored mists.).

Supplies:
See you all soon!
-Daisy Parker

8.12.2013

"Smile, Cause' it's SUMMER" Scrapbook Page

Hello, my dear blog readers!

Now, today's 'project', as you can tell, is not a card, as it is an 8.5" x 11" premade scrapbook page (If you would like to purchase this page, click on the Etsy link to the right side of this post.). This season-oriented has many different vibrant colors, has a playful scheme, and has lots of dimension, In case you didn't know, I usually don't hand cut out paper, but in this case, I had to for the whale, fish, and clouds because I didn't have any dies or punches which would suit the project in terms of shape and size.

Anyhow, feel free to gather inspiration!

Tip: When hand-cutting shapes (from paper, in this case), sometimes it is a good idea to add glitter on the edges to hide any mis-cuts or blemishes.


Supplies (There are quite a few!):

Hope you liked it and see y'all soon!

-Daisy Parker


7.31.2013

Bright Flowers w/Copics Card

Hello, all!

Today's post is mainly focused on some stamping and Copic coloring. So far, this is one of my favorite cards because of the vivid colors which 'pop' to your eye. Also, I've colored and cut several of the flowers and leaves on a seperate sheet of cardstock and mounted them on foam adhesive. In addition, it can be used for various occasions (birthday, hello, thinking of you, even baby), but in this case, I stamped a 'Thank You' sentiment on it.

P.S. The card base is a navy blue color (you can't see it that well)


As you can tell, I haven't colored much shadow in the flowers, but some of their colors range from dark to light, from the interior, and vice versa.

Copic Sketch Marker colors: R22, R29, R32, YR07, YR04, Y17, Y2, YG03, YG63, B32, B34, V06, V127 & V15
Tip: If some of the color goes outside the lines or you get unwanted colors in places, (inky fingerprints, don't you just hate 'em?) use a white gel pen to hide the mistakes.

Supplies:

Hope you got some inspiration!

Thanks for visiting!
-Daisy Parker

7.26.2013

"Hello, Sweet Stuff" Card

Hey, guys!

Today's card is one of those conventional card styles, centered simply on a stamped image (colored with Copics) and a sentiment. The stamp set used in this card is Cosmo Cricket S'MORE LOVE.


(Inside of card)
Copic Marker Colors: E33, R32, E37, Y21, W3, E11, Y17 
Tip: If some of the color goes outside the lines use a white gel pen to hide the mistakes.

Supplies:
Thanks for visiting!
-Daisy Parker

7.09.2013

Bright Birds Card

Hello, all!

Today's post is actually a birthday card I made for my mom last week. As you can see, it is a generically themed card which can be used for multiple events. A new technique I used to add a little more 'umph' to the card was using scoring lines in the white space at the top of the card, for which I used my Martha Stewart SCORING BOARD (Tip: Don't press too hard while scoring, or  your card will become flimsy and bend, like mine did.) All of the patterned paper used in this card is from American Crafts COLOR CRUSH 6x6 Paper Pad.


(Inside of card)
 List of Supplies:

Thanks for visiting!
-Daisy Parker